|
|
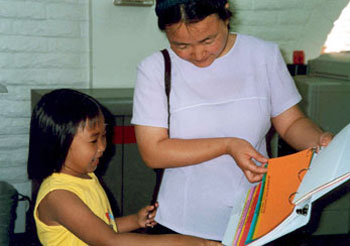
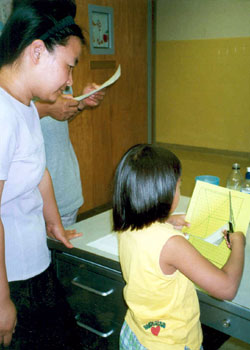
To the left, Lina and her mom, Li, are selecting paper at
an Alphagraphics store in Tempe next to Arizona State University. This
is the first step in our project. Lina's dad, Jialong, is there, too.
|
|
|
|
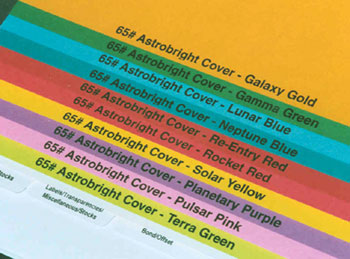
In case it is too small to read from the picture, this is 65-pound
paper, and it is Astrobrights. I suggest a 65-pound
weight for building the structures because it is still light enough to fold
while being sturdy enough to be handled and taken outside.
The structures literally twist in a light breeze when made with regular
copy paper.
|
|
|
|
|
|
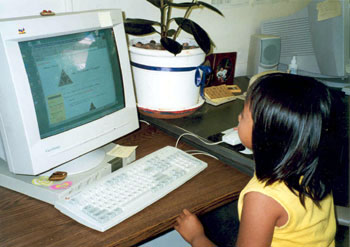
Lina is looking at the
Sierpinski Triangle page on
Cynthia Lanius' website. She needs a copy of Cynthia's
"triangular gridpaper." The link for it is very close
to the top of the page. Just click on that link and print out
a copy of the gridpaper. Before doing that, it might be helpful to
take a look at the Sierpinski Triangle. In much
the same way that a tetrahedron is a 3D version of an equilateral
triangle, Sierpinski's Tetrahedron is like a 3-space version of
Sierpinski's Triangle.
|
|
|
|
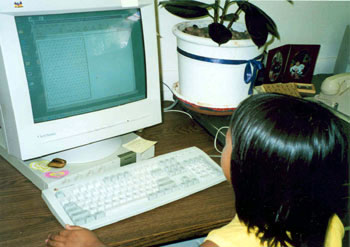
Lina is now at the "triangular gridpaper" screen. It does not
show up clearly on the computer screen in this photograph, but maybe you
can look closely and see it. You will need to print this page. This step
can be done first, if you want to take it with you to the copy center. Then
they could make the copies to avoid having to put the 65-pound paper into
your printer and print the sheets individually. The big copy centers
usually have good quality machines that will not introduce huge distortions
into the copies (an important consideration when building math structures),
so this is a reasonable choice to make.
|
|
|
|
|
|
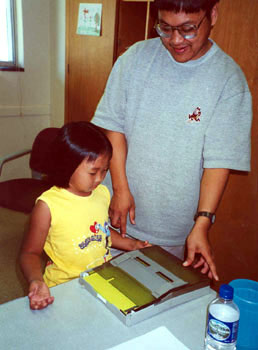
Lina and her dad have placed a few sheets of the 65-pound terra green
paper she chose into the printer. It accepted the heavy paper well, no
jams occurred.
|
|
|
|
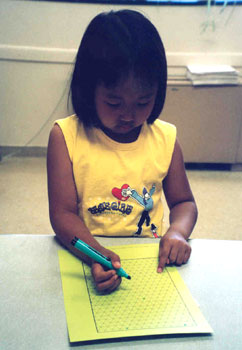
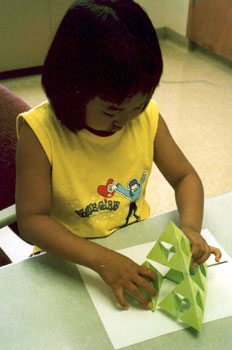
It is difficult to make out the dots on the paper, but Lina is marking
the triangular grid paper in preparation for cutting out equilateral
triangles. For each tetrahedron, she will need one equilateral triangle.
Since she will have to make folds, she picked an even number of triangles
for each side length, eight (you can count them for yourself in the next
picture), but she could just as well have chosen six, or any even
number. It is a good idea to make your individual tetrahedrons big enough
to not be able to fit into the mouth of a child, just in case one were to
drop on the ground and a child were to find it and experiment with the
taste of 65-pound copy paper.
|
|
|
|
|
|
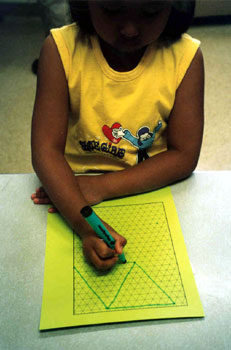
Now you can see the triangles being marked off, using the dots from
the previous picture. It doesn't matter that she is marking up the
paper, since the other side has no markings on it. Lina is using a
highlighter for this task, because it makes a thick line that will be
easy to follow when cutting.
|
|
|
|
Still marking up the paper here. Try to get as many triangles as possible
on the paper. I've included a second picture because this is a very
important step, and it is something that children can do themselves, even
young children. These pictures were taken shortly after Lina turned seven,
and she could easily have accomplished this task a year earlier.
|
|
|
|
|
|
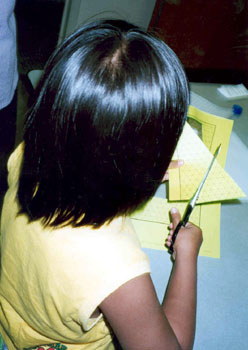
Lina is cutting out the equilateral triangles she has marked on her
grid paper. Within reason, these cuts should be made carefully, if the
tetrahedrons are to go together well. At the same time, being TOO careful
can take some of the fun from the process, so this has to be balanced.
It is unfortunate that I forgot to bring some safety scissors. We didn't
have access to any and so these big scissors were used.
|
|
|
|
Another cutting picture, this time with a triangle clearly defined. Since
there are an even number of lines along each side-length of the triangle,
the midpoint is marked. These midpoints will be the fold points to make
the tetrahedron. Even better, because triangular grid paper is being used,
there are lines between each of the mid-points, giving a line to use to
make the folds!
|
|
|
|
|
|
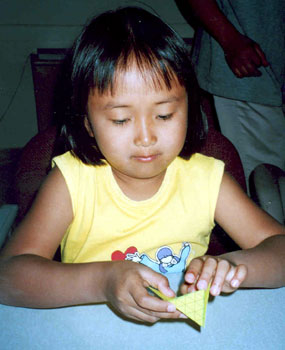
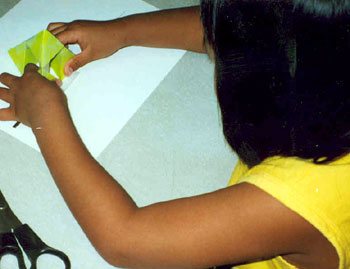
Lina is making the folds for the tetrahedron, initially folding with the
triangle-side outward, so she can use the lines. This really
helps make it possible for young children especially to make accurate
tetrahedrons. Later, she will reverse the folds so the solid side is
outside.
|
|
|
|
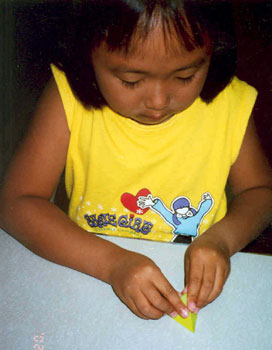
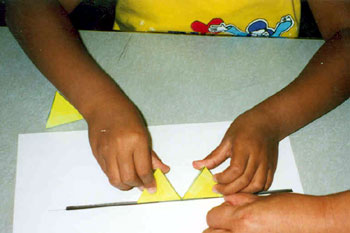
The tips of the triangle brought together to form the tetrahedron,
she is now taping the tetrahedron together.
Children seem to like to use lots of tape, and that is fine, but all that
is really needed is a small piece around the top where the tips of the
triangle meet. This is a stage-0 Sierpinski Tetrahedron. A lot of
these little stage-0's will need to be made to make a family of
Sierpinski Tetrahedra (the plural of tetrahedron can be either tetrahedra
or tetrahedrons--although tetrahedra is more "proper", I will interchange
them frequently).
|
|
|
|
|
|
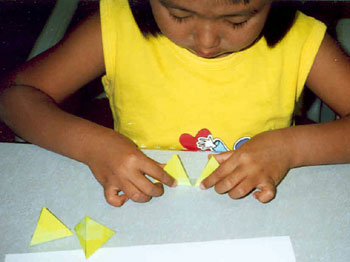
Fast forward past the making of many little stage-0's as described
above. Four of them will now be used to make a stage-1 Sierpinski
Tetrahedron. In putting the tetrahedrons together, it helps to have
a straight line as a guide-marker to set them against. Take a piece of
tape and stick about half the width onto an edge of a tetrahedron,
extending well past the tip, and then set that edge of the tetrahedron
on the straight line. Then place another tetrahedron right next to it
so that they are touching at the tips, being careful that the entire edge
of that tetrahedron is also sitting on the straight line. Gently press
the tetrahedrons firmly onto the tape.
|
|
|
|
With the tetrahedra in this initial state of connectedness, Lina is
now folding the tape upwards on the other side to complete the connection.
If you look closely at the picture to the right, you can just see the
overhang of tape in the picture. This is probably one of the more
difficult parts to accomplish, but it gets easier pretty quickly, once
you get the hang of it. Sometimes the "transparent" tapes don't hold
very well--they want to release from the paper--and you might have
to purchase a fairly sticky tape to make good connections between
the tetrahedra.
|
|
|
|
|
|
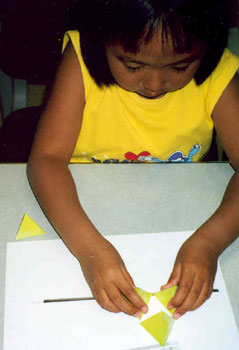
The third tetrahedron for the stage-1 structure is being added here,
and notice that the straight black line is again being used as a guide
to ensure that they line up properly.
Instead of using a single straight
line as a frame of reference as shown above, a different and perhaps
better option might be to use the triangular grid paper. There are
lots of straight lines on it to line the tetrahedrons up with,
and a perspective of what is happening
could be gleaned from three sides instead of just one. I actually hadn't
thought to do this, it was Cynthia's idea, post-pictures, i.e.,
it was too late to include it in the pictures. If a pattern with tabs
were to be used, and glue instead of tape, the triangular grid paper
could be placed inside a plastic sheet-protector to keep the grid paper
and the tetrahedrons from sticking to each other. The more I think about
this idea, the more I like it.
|
|
|
|
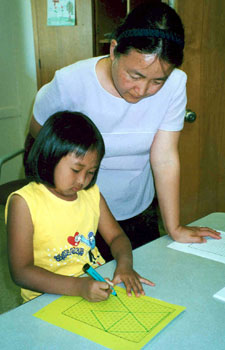
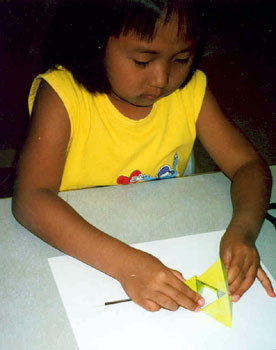
Finshing the above step, the piece of tape must now be brought up and
attached on the other side. Li is helping Lina, and you can barely
see the tape waiting to be folded upward on the edge sitting closest to
the line. Or, perhaps I am imagining it, it is so light. With three pieces
together now, it becomes even more important to get a good connection
between the surfaces of the tetrahedron and the tape.
|
|

|
|
|
|
The fourth piece is aboard, but not yet connected--the stage-1 is almost
finished. That top tetrahedron (look left) is leaning forward, but it
will tilt back again. This will usually happen even if everything is done
correctly because the weight of the paper wants to pull the tetrahedron
downward. Lina is going to repeat the same steps as before. She will
put a piece of tape on one of the edges to be connected, set that edge
on the black line, press both tetrahedra onto the tape, then pull the
tape up on the other side. With this fourth tetrahedron, however,
this has to be done for three different vertice connections separately,
because this last tetrahedron connects to all three of the other tetrahedra.
|
|
|
|
The overlapping piece of tape shows up here very well, finally! This is the
next-to-last connection for the stage-1 Sierpinski Tetrahedron structure.
Notice that she is still using the line as a reference. This structure went
together very nicely, to lay so cleanly on the line when the tetrahedrons
are set in place. It is a Well Done stage-1!
|
|
|
|
|
|
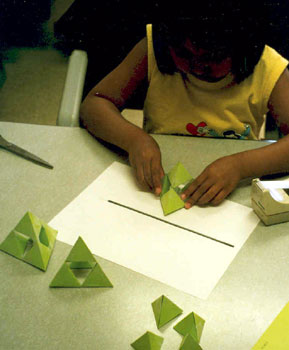
You can see this was actually Lina's third stage-1. She has now completed
a stage-0 AND stage-1, and two of the additional stage-1's that will
make up the stage-2. The stage-2 will be made up of four stage-1's
set together tip-to-tip. This is a good point to start noticing how the
Sierpinski tetrahedron is made up of similar parts, an important mathematical
property called similarity.
|
|
|
|
In the picture to the right are all four stage-1's for the stage-2
structure. Those last two stage-1's went together quick! :-)
Notice that she is still using that straight black line as a
reference marker.
|
|
|
|
|
|
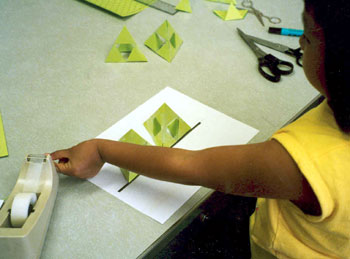
Once you learn how to do this, the process is fast and fairly easy. What
gets more difficult is handling the larger structures. Putting four stage-0's
together to make a stage-1 is a bit easier than putting four stage-1's
together to make a stage-2. A pair of extra hands can be helpful
when putting together larger stages of the structures.
|
|
|
|
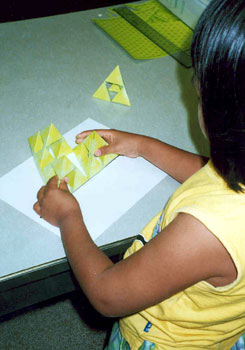
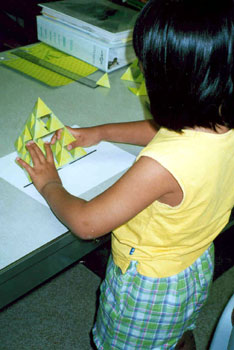
As you can see, Lina is handling the challenge well. It looks like her
stage-2 is going to come together just fine, even the more difficult
step of adding that fourth tetrahedron.
|
|
|
|

|
|
Looking left again, notice the top tetrahedron (stage-1 Sierpinski
Tetrahedron) drooping! As mentioned earlier, a small amount of droop
is a momentary event that is nearly impossible to avoid, even if your
structures are put together perfectly. This is problematic to connecting
the last tetrahedron because for connections one and two of the three
connections necessary, one vertice will be left hanging without support
at the top, until the third and final connection is made. When putting
four tetrahedrons together into a Sierpinski Tetrahedron structure,
there are six connections total, three of them on the last tetrahedron.
|
|
|
|
You can see the last connection is lining up nicely on the reference line.
The family through stage-2 is finished. To make a stage-3 Sierpinski
Tetrahedron, four additional stage-2's would need to be made and set
tip-to-tip. To make a stage-4, four stage-3's would need to be connected
tip-to-tip. Once a child has made their own structures, like Lina has done here,
looking at pictures of tetrahedrons like the ones on this site should take on
greater meaning. So long as there is not too much pressure for perfection,
building math structures like these can be one way, I believe, to help make
mathematics come alive for children.
|
|
|
|
|
|
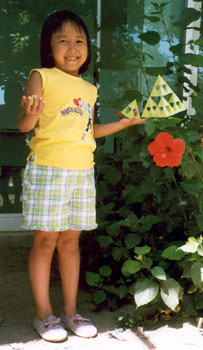
The hard work done, Lina is posing with her Sierpinski Tetrahedra. The
stage-0 is hard to see, it is in her right hand.
|
|
|
|
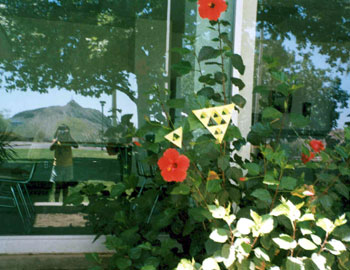
This is a sweet picture of Lina, her reflection caught in a plate glass
window as she photographs her Sierpinski Tetrahedra
that she placed with flowers.
I made coloring
pages from a few of these pictures that can be accessed on the
Building and
Playing pages. The Building page uses
images from this page. The Playing page has mainly different images than those seen
on this page.
|
|
|